DnD Story logo

The Sinking Vault of Whispering Iron

Trail of the TowerboundDungeon 2/10

Updated 10/31/2026, 5:07:12 PM

Edit Dungeon

Dungeon NPCs

Elira Venn

Character NPCLevel 1

Human • Ranger

Role: guide

HP 10 • AC 12

A practical relic-hunter from Brindleford who brings the first warning, leads the party to the tower, and returns later with new rumors about the wizard’s trail.

Harl Fenwick

Character NPCLevel 2

Human • Rogue

Role: guide

HP 12 • AC 12

A wary marsh runner who saw the vault’s magic flare and can lead the party to the safest entry, then later help identify what was taken from the vault.

Events

Event 1

Marsh-scout at the causeway

Read Aloud

Harl Fenwick waits beside the slick stone causeway, staring toward a half-sunken tower half-hidden by mist. He points to a faint glow leaking from the ruin and says, “That vault’s awake again. If it keeps bleeding magic into the marsh, something worse will answer it.”

Details

Harl Fenwick, a wary marsh runner, explains the route to the flooded entrance and confirms the tower vault is the source of the strange glow. He is open to interaction and can answer simple questions about the safest approach, the waterline, and the entrance that still stands above the muck. The party’s objective is clear: reach the vault before the leak spreads farther. No roll is required to begin; Harl’s warning and the visible causeway lead directly to the dungeon entrance. Treasure placement: The NPC provides 10 Gold Pieces, Ironblood Tonic to help the party with the adventure.

Event 2

Warped mirrors in the west gallery

Read Aloud

The west gallery stretches along the tower wall, its warped mirrors catching broken reflections of the central shaft. Two Darkmantles cling in the high stonework, their leathery wings folded tight as they wait above the narrow span.

Details

Attached monsters (use these exact stat blocks): - Quantity: 2; Monster: Darkmantle. Why here: They cling to the gallery ceiling where the broken stone gives them height and darkness. Activity: They are waiting above the narrow span, listening for movement and ready to drop on intruders. Attitude: defensive of their perch Encounter start: distracted/noisy monster Response trigger: They attack if the party crosses the bridge, disturbs the roost, or shines bright light upward. Aftermath: Their lair contains shed scales, bat guano, and a clear view of the central shaft. Room guidance: Two Darkmantles roost here because the gallery gives them height, cover, and easy access to prey crossing the shaft. They are defensive of their perch and begin distracted by the chamber’s echoes, so the party notices them automatically; a Stealth approach can gain the first action, but failure means the Darkmantles notice and act normally. They attack if the party crosses the bridge, disturbs their roost, or shines bright light up into their hiding place. After the encounter, searching the gallery reveals cracked warning sigils pointing toward the cistern and workshop; the mirrors also show the safe edge of the narrow bridge. A Spot check can reveal the best handhold on the bridge for a +2 bonus to the next Athletics crossing in this room. Treasure placement: Searching this area reveals 21 Gold Pieces, Potion of Minor Healing.

Event 3

Black water in the cistern chamber

Read Aloud

Below the tower, a round cistern chamber holds black water that barely ripples against the walls. A broken pump wheel leans over the pool, and something pale shifts beneath the surface near the wall carvings.

Details

Attached monsters (use these exact stat blocks): - Quantity: 1; Monster: Gray Ooze. Why here: It feeds on the damp stone, old rust, and metal scraps collected in the flooded cistern. Activity: It lies in the black water and slides along the floor, waiting for something to touch it. Attitude: hungry Encounter start: alert monster at a distance Response trigger: It attacks when a character wades close, strikes the water, or exposes the ooze with the pump wheel. Aftermath: Its dissolved scrap leaves behind corroded coins and the hidden service passage route. Room guidance: A Gray Ooze lurks in the cistern because the flooded chamber gives it moisture, stone, and scraps of corroded metal to feed on. It is hungry and mostly hidden in the water, so the party notices the chamber first and sees the ooze only when it moves; if they try to wade through carelessly, it can strike from concealment. The ooze is not intelligent, but it reacts aggressively to metal, weapons, and splashing. The broken pump wheel and carved wall markings show a hidden service passage along the eastern wall; the route is always available even if the ooze is not defeated. After the encounter, searching the chamber reveals the service passage latch and a rusted token stamped with the tower’s sigil.

Event 4

Unstable runes in the workshop

Read Aloud

The rune workshop still hums with a low, uneasy pulse. Broken benches ring a stone device set into the floor, and two Magma Mephits bob above the cracked runes, hissing sparks and heat into the room.

Details

Attached monsters (use these exact stat blocks): - Quantity: 2; Monster: Magma Mephit. Why here: They are drawn to the workshop’s leaking heat and unstable magical exhaust. Activity: They hover over the cracked runes, spitting sparks and playing in the warm venting magic. Attitude: distracted and aggressive if disturbed Encounter start: distracted/noisy monster Response trigger: They lash out if the party touches the device, tries to force the mechanism, or drives them away from the heat. Aftermath: Their soot and slag leave the control crystal and the seal diagram easy to find. Room guidance: Two Magma Mephits are here because the workshop’s unstable device vents heat and sparks that they instinctively gather around. They are distracted by the malfunctioning runes, mischievous rather than disciplined, and they begin openly visible among the broken tools. They may bargain, boast, or be driven off, but they become aggressive if the party touches the device without calming the room first. The device can be reset safely with careful magical handling, and the workshop’s control panel gives the clue needed to unlock the inner vault door. After the mephits are dealt with or avoided, the room reveals a diagram of the final seal and a stable control crystal.

Event 5

The restored inner vault door

Read Aloud

Beyond the restored door, the inner vault opens around a raised plinth washed in pale magic. Three Goblins crouch among the plinth steps and broken crates, clutching scavenged tools as they guard the prize at the center of the room.

Details

Attached monsters (use these exact stat blocks): - Quantity: 3; Monster: Goblin. Why here: They sneaked into the unlocked inner vault to steal anything valuable from the plinth. Activity: They are crouched among the steps and crates, grabbing loot and guarding the center of the room. Attitude: immediately hostile Encounter start: mutual awareness at close range Response trigger: They attack if the party approaches the plinth or tries to take the treasure. Aftermath: Their dropped gear and stolen scraps point to the vault’s hidden record niche. Room guidance: Three Goblins are here because they slipped into the newly opened vault and are trying to claim the plinth’s treasure before anyone else can take it. They begin in full view and are immediately hostile if the party advances on the plinth; they may bargain briefly if cornered, but their first instinct is to defend the prize and flee with anything they can carry. The restored workshop device has already removed the simple ward, so the vault is open once the party reaches this room. After the encounter, the plinth holds the room’s treasure and a clear sign of the vault’s magical purpose; searching the chamber reveals scattered goblin loot and the tower’s sealed record niche. Treasure placement: After the encounter, the party can recover 54 Gold Pieces, Nightglass Dagger +1 from the guarded area or the creatures' belongings.

Event 6

What the vault was hiding

Read Aloud

The inner vault settles into silence as the last sparks fade from the plinth. In the still air, old carvings and a shallow record niche stand out clearly against the stone.

Details

This closing scene reveals the vault’s surviving clue: the record niche contains the story of what the tower once protected and why the leak mattered. The chamber is calm, with no monsters present, so the party can search freely and take stock of the treasure, carvings, and any practical supplies left behind. The clue should point onward in the campaign without adding a new faction or complication. If the party wants to linger, they can examine the plinth, the seal marks, and the old tower script to learn more about the wizard’s trail. Treasure placement: Searching this area reveals 65 Gold Pieces.

DM Map Cards

No DM map cards yet.

Monster Cards

Darkmantle

Darkmantle

Small Monstrosity | Unaligned | L2

HP

22

AC

11

Speed

10 ft., fly 30 ft.

Init

+1

STR 16 | DEX 12 | CON 13 | INT 2 | WIS 10 | CHA 5

Actions

Crush: Hit +5 | 6 (1d6 + 3) bludgeoning damage, and the darkmantle attaches to the target. If the target is Medium or smaller and the darkmantle has advantage on the attack roll, it attaches by engulfing the target's head, and the target is also blinded and unable to breathe while the darkmantle is attached in this way. While attached to the target, the darkmantle can attack no other creature except the target but has advantage on its attack rolls. The darkmantle's speed also becomes 0, it can't benefit from any bonus to its speed, and it moves with the target. A creature can detach the darkmantle by making a successful DC 13 Strength check as an action. On its turn, the darkmantle can detach itself from the target by using 5 feet of movement.

Darkness Aura (1/Day):

Magic

No spells

No image

Gray Ooze

Medium Ooze | Unaligned | L2

HP

22

AC

8

Speed

10 ft., climb 10 ft.

Init

-2

STR 12 | DEX 6 | CON 16 | INT 1 | WIS 6 | CHA 2

Actions

Pseudopod: Hit +3 | 4 (1d6 + 1) bludgeoning damage plus 7 (2d6) acid damage, and if the target is wearing nonmagical metal armor, its armor is partly corroded and takes a permanent and cumulative -1 penalty to the AC it offers. The armor is destroyed if the penalty reduces its AC to 10.

Magic

No spells

No image

Magma Mephit

Small Elemental | Neutral Evil | L2

HP

22

AC

11

Speed

30 ft., fly 30 ft.

Init

+1

STR 8 | DEX 12 | CON 12 | INT 7 | WIS 10 | CHA 10

Actions

Claws: Hit +3 | 3 (1d4 + 1) slashing damage plus 2 (1d4) fire damage.

Fire Breath (Recharge 6):

Magic

No spells

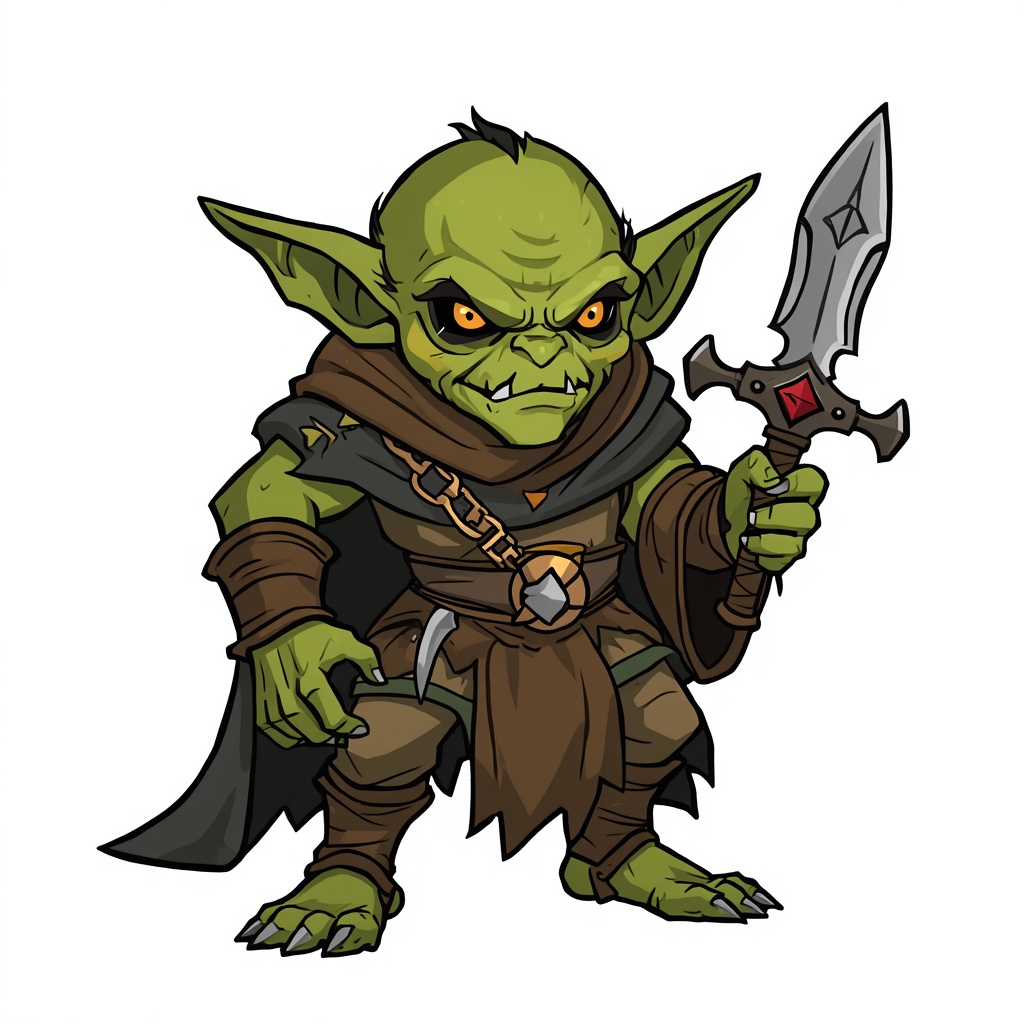
Goblin

Goblin

Small Humanoid | Neutral Evil | L1

HP

7

AC

15

Speed

30 ft.

Init

+2

STR 8 | DEX 14 | CON 10 | INT 10 | WIS 8 | CHA 8

Actions

Scimitar: Hit +4 | 5 (1d6 + 2) slashing damage.

Shortbow: Hit +4 | 5 (1d6 + 2) piercing damage.

Magic

No spells

Magic Item Cards

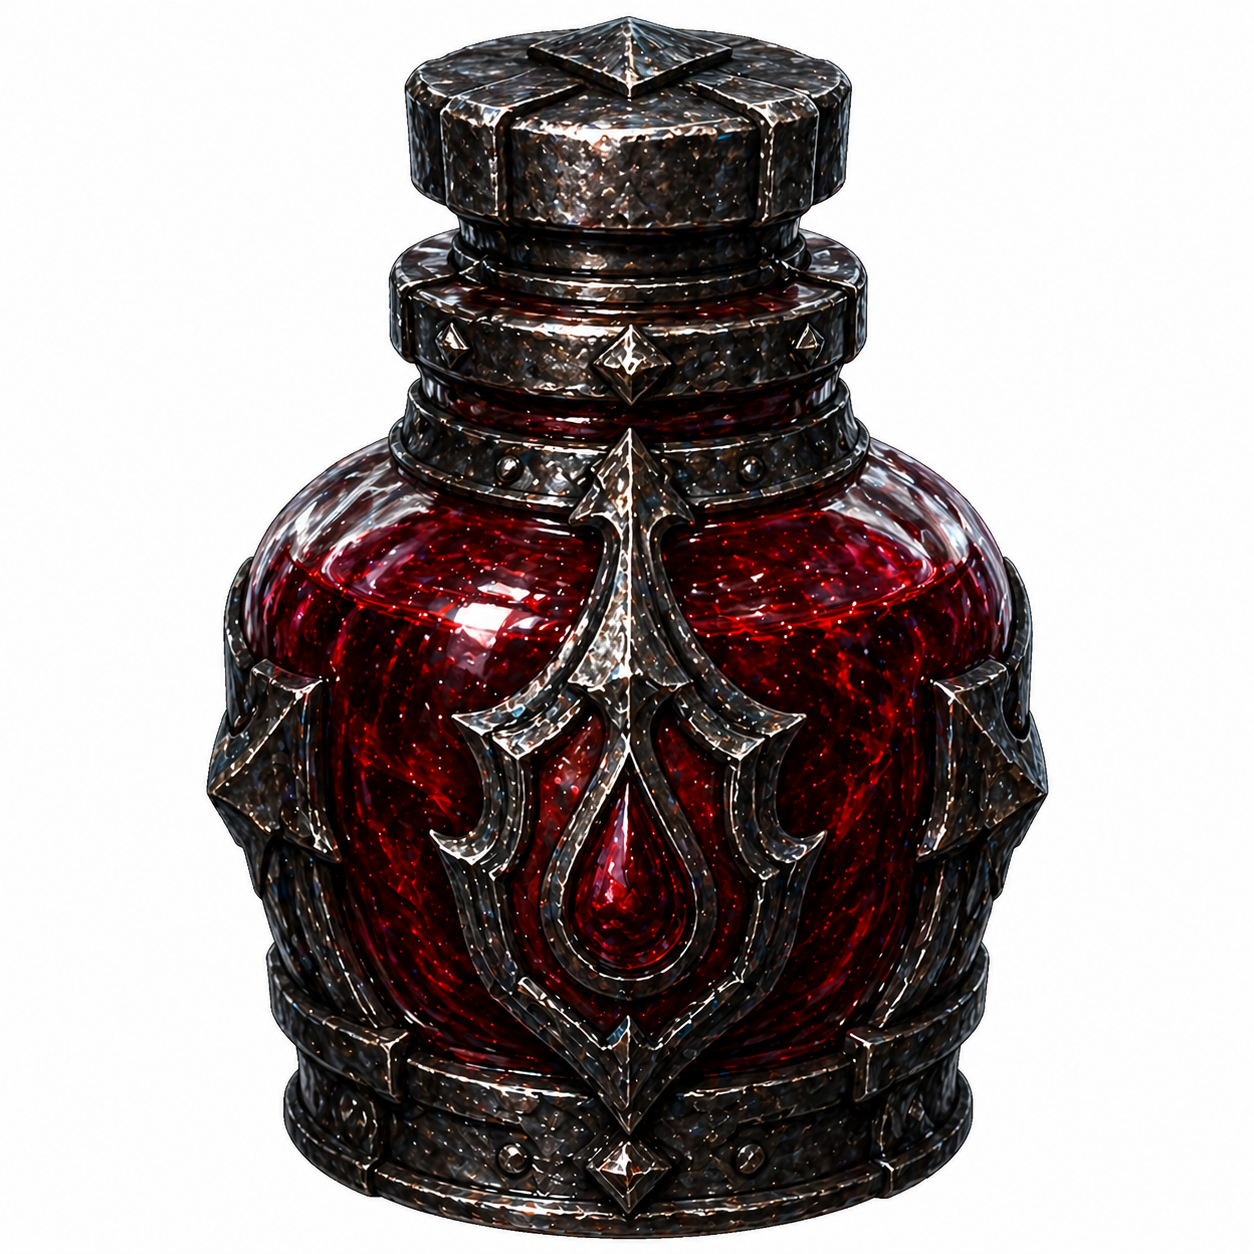
Ironblood Tonic

Item Handout

Ironblood Tonic

wondrous | common | L2

Value: 95 GP

Marsh-scout at the causeway

Description

A bitter tonic that hardens resolve.

Spells

No spells.

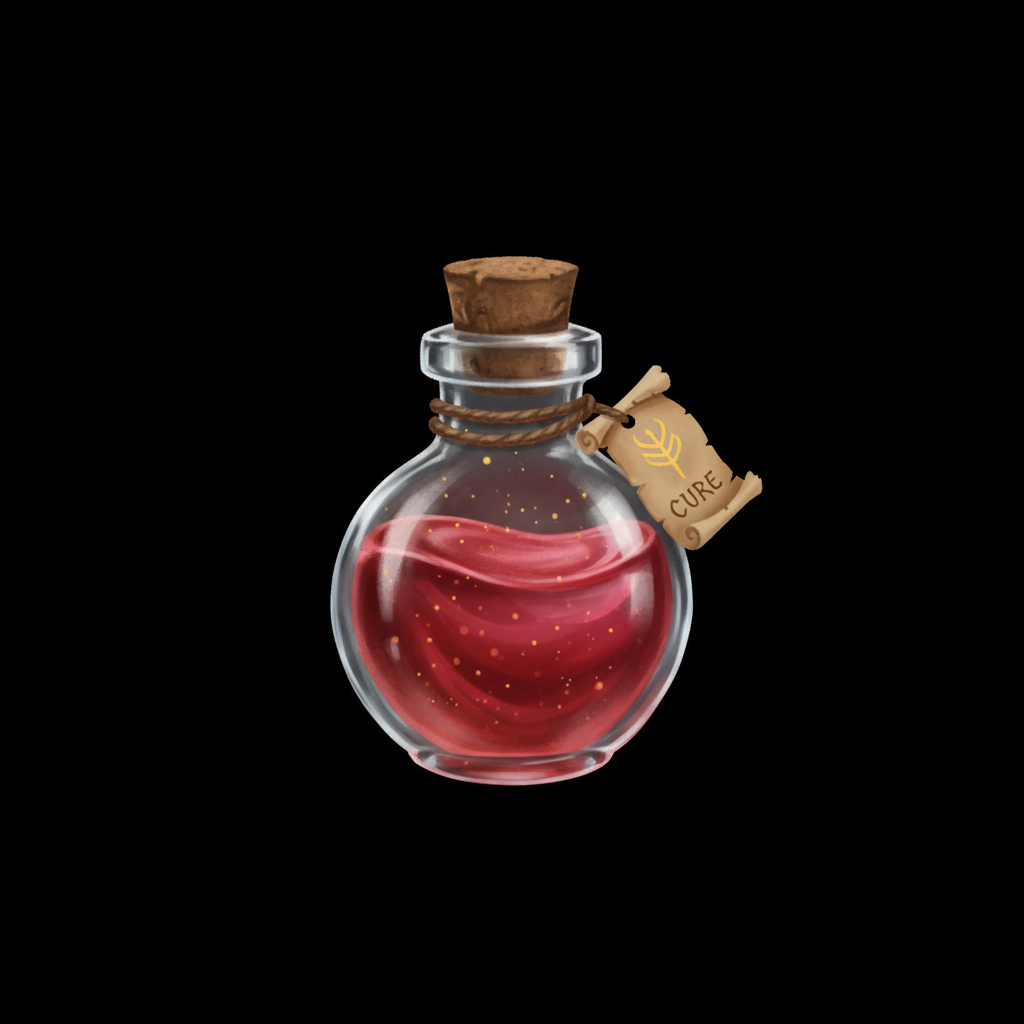
Potion of Minor Healing

Item Handout

Potion of Minor Healing

wondrous | common | L1

Value: 65 GP

Warped mirrors in the west gallery

Description

A simple red draught that closes minor wounds.

Spells

Heal Light Wounds (L1): Heal 1D8 +1 of damage

No image

Item Handout

Nightglass Dagger +1

weapon | uncommon | L2

Value: 210 GP

+1 to hit and +1 damage when using this weapon.

The restored inner vault door

Description

A keen dagger forged for close fighting.

Spells

No spells.

Conclusion

The vault falls silent at last, the last sparks guttering out around the plinth as the party secures the chamber and gathers the scattered loot. The marsh-bound ruin no longer leaks strange magic, and the old stone feels still and finished for the first time in ages. Harl Fenwick can help the party make the return trip to Brindleford, where they may rest, tend wounds, and trade or sell what they recovered from the vault. If the group lingers in the village, let them enjoy a warm meal, a safe bed, and the satisfaction of having closed the matter cleanly. The ruined tower’s secret is now in hand, the immediate danger is ended, and the adventure reaches a clear stopping point. Congratulations, you are now Level 2!