DnD Story logo

The Sealed Hillhold

The Stolen WardstoneDungeon 2/10

Updated 11/3/2026, 5:54:49 PM

Edit Dungeon

Dungeon NPCs

Sister Maelin

Character NPCLevel 1

Human • Paladin

Role: vault witness

HP 10 • AC 14

She is the bound caretaker in Room 3, where the Dust Mephit has clouded her judgment; once freed, she identifies the thief’s last route and confirms the vault’s link to the stolen Wardstone.

Events

Event 1

Sealed Hill Entrance

Read Aloud

Sister Maelin stands beside a stone door half-hidden in the hillside, her lantern throwing pale light across old cut marks in the rock. She lifts a hand to the entrance and says, 'The trapped one is inside. Free it, and Brindleford gains a friend against the Wardstone's danger.'

Details

Sister Maelin is here as the vault witness and guide. She explains that the hidden dungeon once held a creature meant to warn and guide the valley, and that the theft of the Wardstone has made this rescue urgent. She offers no fight; her role is to send the party through the sealed entrance and make the objective clear. The door ahead is already open enough to enter, so the party can move into the dungeon immediately. Treasure placement: The NPC provides 25 Gold Pieces, Elixir of Swiftness to help the party with the adventure.

Event 2

Caged Blink Dog

Read Aloud

A small chamber opens around a rusted iron cage set on a stone floor. Inside, a Blink Dog watches the party with bright, wary eyes, while old chains hang from the wall and a narrow exit waits beyond the bars.

Details

Attached monsters (use these exact stat blocks): - Quantity: 1; Monster: Blink Dog. Room guidance: The Blink Dog is trapped here because the dungeon's captors wanted to keep its tracking and warning instincts from guiding anyone toward the Wardstone's trail. It is frightened but open to interaction; it whines, paces, and backs away from the cage door until freed. Once released, it becomes a loyal guide that can help the party navigate the dungeon and later follow the relic's movements. Searching the room after the cage is opened reveals old feed bowls, scratch marks, and a clear sign that the creature was kept here deliberately, not abandoned.

Event 3

Dust Mephit Bargain

Read Aloud

Dust swirls in a narrow passage where a tiny winged figure hovers in the stale air, rubbing its hands together. It grins at the party and says, 'Pass? Perhaps. But every door has a price.' A Dust Mephit is here.

Details

Attached monsters (use these exact stat blocks): - Quantity: 1; Monster: Dust Mephit. Room guidance: The Dust Mephit blocks the passage and is using the choke point to delay intruders. It is defensive of the route, not a true boss, and it wants a simple bargain before it lets anyone through. The party can talk, offer a reasonable trade, or outwit it; if they do, it admits that the Wardstone's theft has emboldened the dungeon's servants. Its attitude starts suspicious and greedy, but it can be softened by a fair offer or clever flattery. The side passage beyond it leads onward once the bargain is settled. Treasure placement: After the encounter, the party can recover Wardstone of Brindleford from the guarded area or the creatures' belongings.

Event 4

Corrupted Workings

Read Aloud

Below the main level, a damp chamber hums with strain from cracked stone and old mechanisms. A gray mass oozes across the floor and over the fittings, slowly eating at the room's workings while broken channels leak dark water across the flagstones. A Gray Ooze is here.

Details

Attached monsters (use these exact stat blocks): - Quantity: 1; Monster: Gray Ooze. Room guidance: The Gray Ooze belongs here because it has been drawn to the sealed workings and is eating the parts that keep the prison site stable. It is distracted at first, feeding on metal and stone rather than hunting, so the party notices it automatically and can try Stealth to gain the first action. Clearing it opens the way forward and reveals the corruption weakening the site. After the ooze is dealt with, the party finds a damaged control plate, melted fasteners, and signs that the dungeon's support system has been failing since the Wardstone was stolen. Treasure placement: After the encounter, the party can recover Ironblood Tonic from the guarded area or the creatures' belongings.

Event 5

Ravens Over the Treasure

Read Aloud

A small treasure chamber lies under broken beams and old dust, with something bright glinting on the floor in the center. A dark cloud of Swarm of Ravens circles overhead and snaps down at anything that comes near the shining object.

Details

Attached monsters (use these exact stat blocks): - Quantity: 1; Monster: Swarm of Ravens. Room guidance: The Swarm of Swarm of Ravens is clustered around the visible treasure because the birds have been driven into a defensive, agitated pattern by the dungeon's disturbance. They are not mindless killers; they are noisy, aggressive, and easy to notice, and the party can drive them off, scare them away, or endure their harassment long enough to search. Once the birds are gone, the visible treasure reveals the route to the prison chamber and confirms the site's link to Brindleford's peril. Searching the chamber also shows tracks and disturbed dust that point toward the final route onward. Treasure placement: After the encounter, the party can recover 125 Gold Pieces from the guarded area or the creatures' belongings.

Event 6

Escape Route Guard

Read Aloud

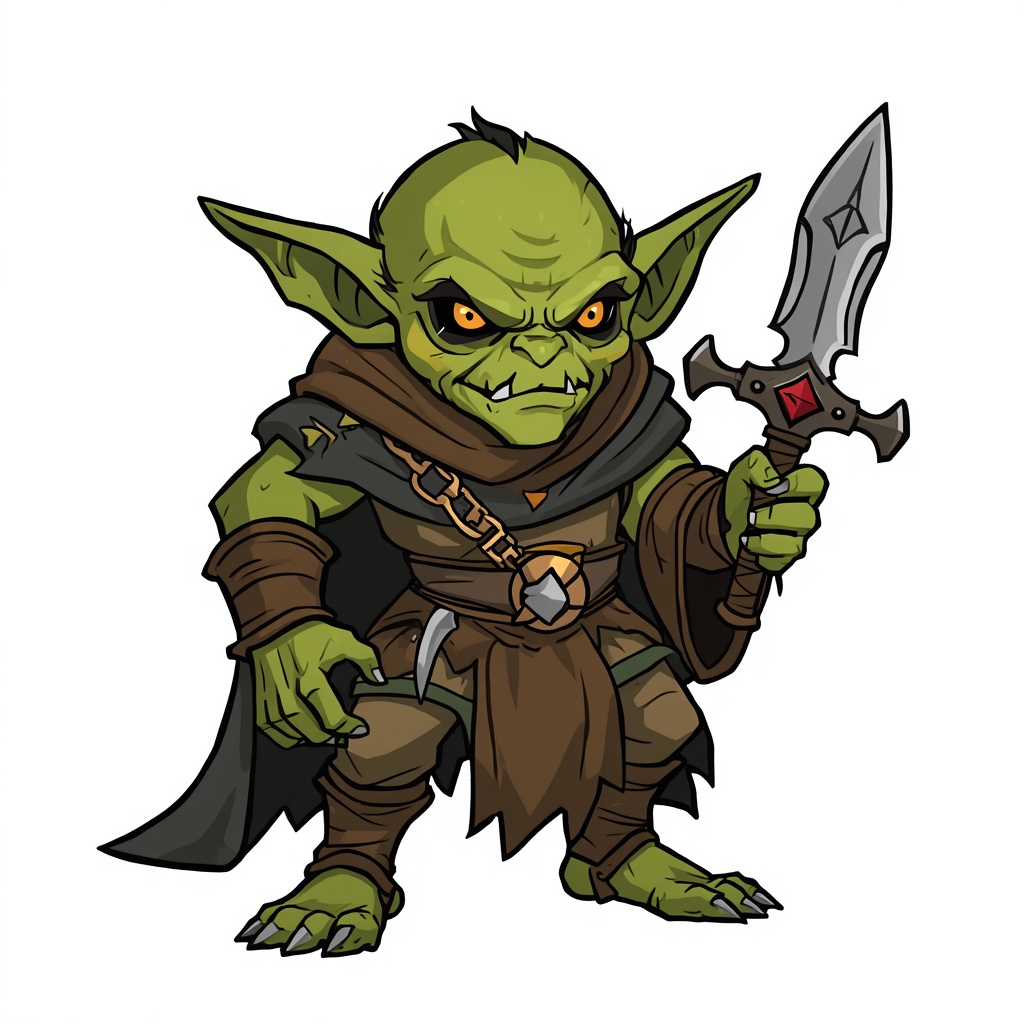
The last chamber narrows into a barred passage where a Goblin stands ready with a crude weapon and a hard stare. Beyond it lies the route out, and the air already feels lighter where the way home begins.

Details

Attached monsters (use these exact stat blocks): - Quantity: 1; Monster: Goblin. Room guidance: The Goblin is trying to stop the escape because it has been ordered to keep the freed creature from leaving the hill dungeon alive. It begins immediately hostile and openly blocks the route, so the party and the Goblin are in full view of one another. If the party defeats, drives off, or outmaneuvers it, the exit clears and the freed Goblin can leave with Sister Maelin. After the encounter, the passage beyond the bars is open, and the party can escort the ally out of the dungeon. The room also contains a final sign of the dungeon's purpose: old scratch marks and a discarded token showing that this place was used to hold and move prisoners, not just treasure. Treasure placement: After the encounter, the party can recover Ring of Protection from the guarded area or the creatures' belongings.

DM Map Cards

No DM map cards yet.

Monster Cards

Blink Dog

Blink Dog

Medium Fey | Lawful Good | L1

HP

22

AC

13

Speed

40 ft.

Init

+3

STR 12 | DEX 17 | CON 12 | INT 10 | WIS 13 | CHA 11

Actions

Bite: Hit +3 | 4 (1d6 + 1) piercing damage.

Teleport (Recharge 4-6):

A *blink dog* takes its name from its ability to blink in an:

Magic

No spells

No image

Dust Mephit

Small Elemental | Neutral Evil | L2

HP

17

AC

12

Speed

30 ft., fly 30 ft.

Init

+2

STR 5 | DEX 14 | CON 10 | INT 9 | WIS 11 | CHA 10

Actions

Claws: Hit +4 | 4 (1d4 + 2) slashing damage.

Blinding Breath (Recharge 6):

Magic

No spells

No image

Gray Ooze

Medium Ooze | Unaligned | L2

HP

22

AC

8

Speed

10 ft., climb 10 ft.

Init

-2

STR 12 | DEX 6 | CON 16 | INT 1 | WIS 6 | CHA 2

Actions

Pseudopod: Hit +3 | 4 (1d6 + 1) bludgeoning damage plus 7 (2d6) acid damage, and if the target is wearing nonmagical metal armor, its armor is partly corroded and takes a permanent and cumulative -1 penalty to the AC it offers. The armor is destroyed if the penalty reduces its AC to 10.

Magic

No spells

No image

Swarm of Ravens

Medium Beast | Unaligned | L1

HP

24

AC

12

Speed

10 ft., fly 50 ft.

Init

+2

STR 6 | DEX 14 | CON 8 | INT 3 | WIS 12 | CHA 6

Actions

Beaks: Hit +4 | 7 (2d6) piercing damage, or 3 (1d6) piercing damage if the swarm has half of its hit points or fewer.

Magic

No spells

Goblin

Goblin

Small Humanoid | Neutral Evil | L1

HP

7

AC

15

Speed

30 ft.

Init

+2

STR 8 | DEX 14 | CON 10 | INT 10 | WIS 8 | CHA 8

Actions

Scimitar: Hit +4 | 5 (1d6 + 2) slashing damage.

Shortbow: Hit +4 | 5 (1d6 + 2) piercing damage.

Magic

No spells

Magic Item Cards

Elixir of Swiftness

Item Handout

Elixir of Swiftness

wondrous | common | L1

Value: 75 GP

Sealed Hill Entrance

Description

A fizzy tonic that sharpens reaction speed.

Spells

No spells.

No image

Item Handout

Wardstone of Brindleford

wondrous | common | L2

Value: 400 GP

Dust Mephit Bargain

Description

Loot reward from Dust Mephit Bargain.

Spells

No spells.

Ironblood Tonic

Item Handout

Ironblood Tonic

wondrous | common | L2

Value: 95 GP

Corrupted Workings

Description

A bitter tonic that hardens resolve.

Spells

No spells.

No image

Item Handout

Ring of Protection

wondrous | uncommon | L2

Value: 240 GP

Escape Route Guard

Description

A subtle ring that reinforces defenses.

Spells

No spells.

Conclusion

With the last threat cleared and the barred passage opened, the hidden hill dungeon falls quiet at last. The freed Blink Dog is safe, Sister Maelin can leave the complex unharmed, and the party has enough proof of the dungeon’s purpose to confirm that the stolen Wardstone’s trail is real. Back in Brindleford, the heroes can rest, tend wounds, and sort through their recovered loot before deciding what to keep and what to trade or sell. Sister Maelin’s gratitude is plain, and the immediate danger from this place has been put to rest; the dungeon is no longer a threat to the valley, and the party’s success stands as a clean victory for Brindleford. The people of the settlement can finally breathe easier, knowing one more piece of the Wardstone mystery has been answered and one more ally has been secured for the road ahead. Congratulations, you are now Level 3!